
The laying of porcelain stoneware floors: times, precautions and advice
Porcelain stoneware is a resistant and versatile material, which is increasingly used both for the flooring of outdoor spaces and inside homes and public buildings, not only on floors but also as a coating material for walls and accessories.
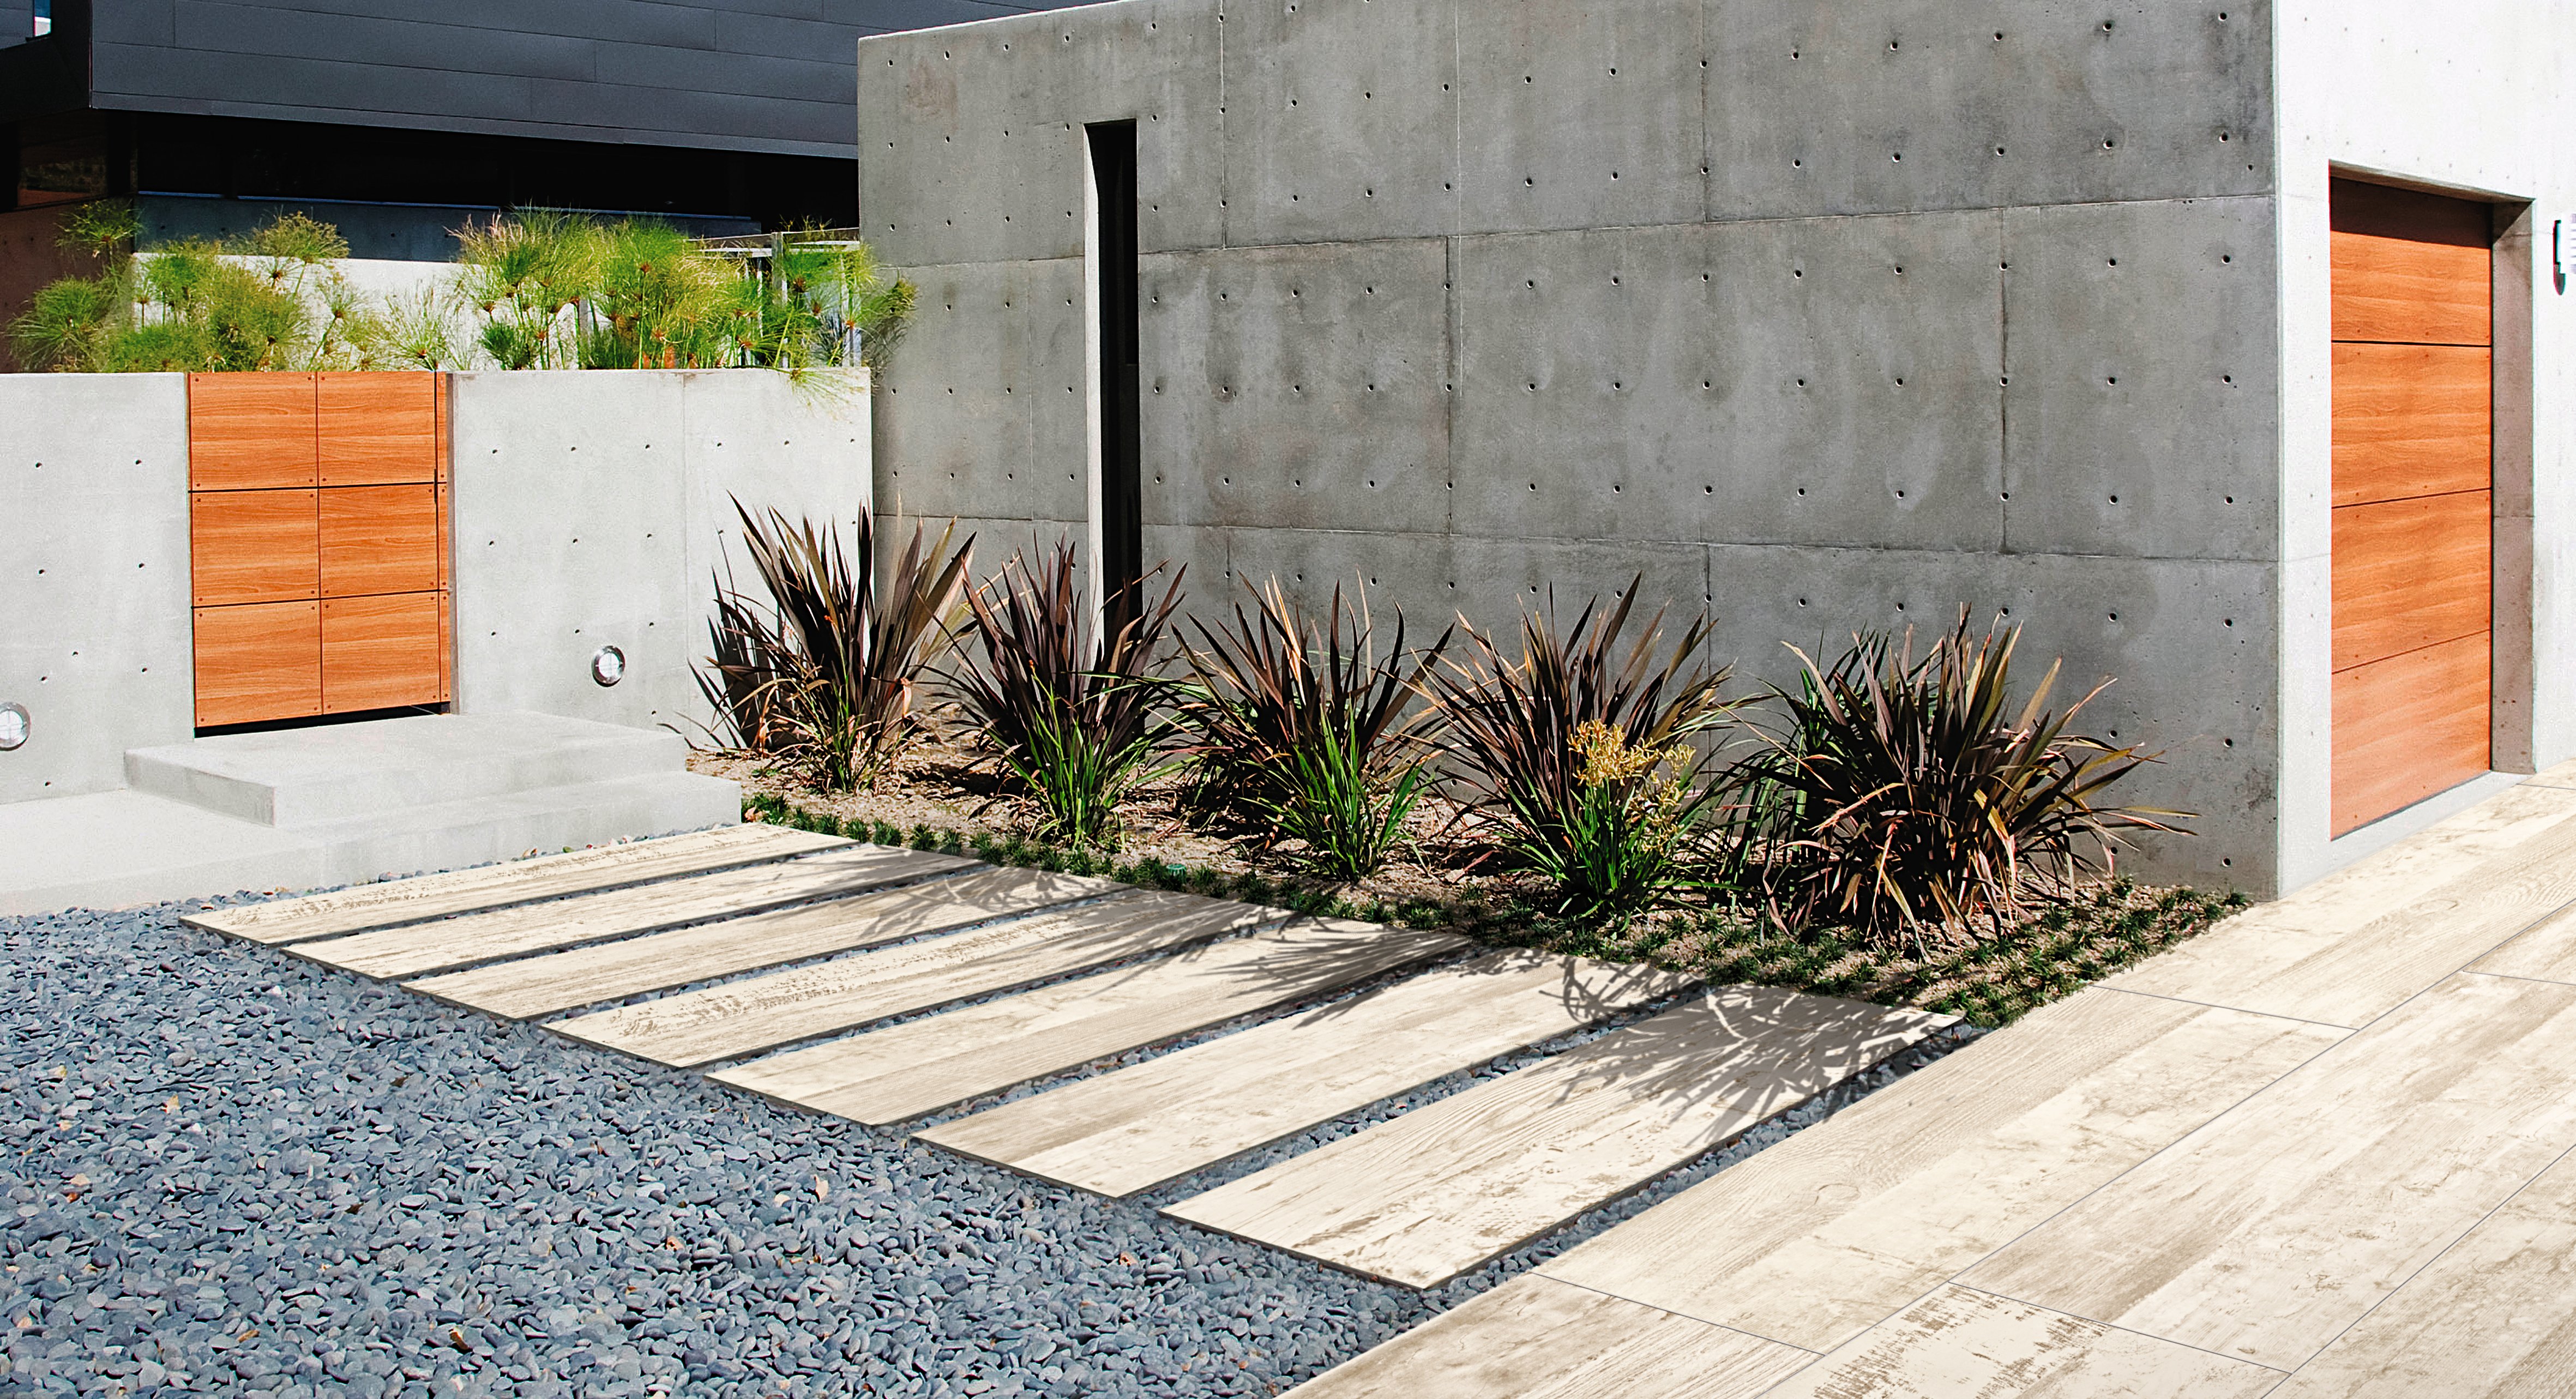
Today, countless types of porcelain stoneware tiles are available on the market, of varying thickness and size, able to respond to any type of aesthetic taste, to impeccably reproduce the appearance of natural materials and stones (from wood to marble) and to leave room for endless creative combinations, also thanks to the possibility of choosing from many different laying schemes.
But what challenges does laying a floor or wall covered with this durable and versatile material pose? And is it possible to independently manage the installation of porcelain stoneware tiles, or is it necessary to resort to the intervention of a professional? Let's look at it together.
Laying porcelain stoneware: the fundamental steps for a perfect result
To achieve a satisfactory result in terms of aesthetics, functionality and durability, porcelain stoneware slabs or tiles must be laid extremely accurately. The installation does not require the use of specific equipment (although some professional tools are certainly useful to reduce working times and improve the final result) or materials that are particularly difficult to find on the market, but it certainly requires good manual skills and great precision, which can often only be guaranteed by the intervention of experienced professionals.
The opinion of a professional can also be very useful in the phase preceding the actual laying, when it is necessary to determine the quantities of materials to be purchased to complete the work without unforeseen events: depending on the chosen laying scheme, the characteristics of the room and the presence of any areas not to be tiled, it is possible to calculate precisely the number of stoneware tiles needed (remembering that it is always advisable to buy a plentiful supply, to be able to replace any tiles accidentally broken during transport or cutting and to have some spare material to use, in case of need, even in the future), in addition to the amount of glue, putty and other materials.
The methods of laying porcelain stoneware can vary depending on countless factors, including the type of environment (whether internal or external), the characteristics of the floor to be worked on, the thickness of the chosen stoneware tiles and so on, but normally include these work phases:
Le modalità di posa del gres porcellanato possono variare a seconda di innumerevoli fattori, tra cui la tipologia di ambiente (se interno o esterno), le caratteristiche del fondo su cui si va a intervenire, lo spessore delle piastrelle in gres prescelte e così via, ma normalmente prevedono queste fasi di lavoro:
- Preparation of the floor: stoneware tiles must be laid on a smooth and planar surface, normally a screed made of sand and cement or, in the case of external flooring, on a concrete slab. The type of screed varies depending on the different contexts, the presence or absence of underfloor heating or even the presence of a pre-existing floor. In fact, porcelain stoneware can also be successfully laid on already tiled surfaces, provided that a new screed is made above them.
- Preparation of the adhesive material: porcelain stoneware tiles can be made to adhere to the screed with various adhesives, from cement mortar to other types of glues and adhesives. The different materials have different methods of preparation, but all require to be mixed and immediately used, spreading on the screed a regular and uniform layer a few millimetres thick. In some cases, it may be required to apply the adhesive both on the surface of the screed and on the back of the stoneware tile.
- Laying: the actual laying of the tiles is the most complex step of the process, and must take place immediately after the distribution of the adhesive on the screed. The tiles must be regularly separated, using the appropriate spacers, so as to leave a few millimetres of space between them, and the spacers must also be used around the perimeter of the surface to be tiled. On a practical level, if the tiles must be arranged according to a diagonal scheme, normally you start laying from the centre of the room, proceeding towards the wall opposite the door and then move towards the exit as you proceed with the work.
- Cutting: one of the most delicate steps of the flooring work is the cutting of porcelain stoneware tiles, which can be carried out with various tools, from a simple grinder with a diamond disc to special manual or water tile cutters. The use of professional equipment guarantees better results and a reduction in the time required for cutting, but in order to take advantage of it, it is necessary to resort to the intervention of professional installers.
- Grouting of the joints: once the laying of the tiles has been completed and the time necessary for drying the glue has passed, the dust and any glue residues present can be eliminated and the joints grouted between one stoneware tile and the other. The choice of grout depends on the type of tile chosen, and there are countless solutions that allow to hide the grout line as best as possible, obtaining an almost invisible result or, on the contrary, to enhance the presence of the grout line by choosing a contrasting colour. Once the grout lines have been filled, immediately remove the excess grout by wiping the surface with a wet cloth; to simplify this procedure it is preferable to proceed "in sectors", plastering a few square metres of floor and immediately cleaning the lines in that area, without waiting to have completed the entire job. A detail to pay particular attention to, especially if the flooring is outside, is the temperature at which the work is carried out: temperatures that are too low or too high in fact prevent the correct consolidation of the grout, and can compromise the final result.
- Cleaning: the last step to finish the installation is the first washing of the tiled surface. Cleaning must be carried out only after the putty has completely hardened, therefore approximately a few days after the end of the laying work, and requires that a special detergent (acid-based) be used over the entire surface, suitably diluted in water, which will allow the residues due to the laying activities to be removed. The detergent must be left to act for a few minutes and then removed with clean lukewarm water or with special vacuum-water machines. Once this first cleaning has been completed, the porcelain stoneware floor will be glossy, the colour will be consolidated and then you can proceed with the simple daily cleaning using only neutral detergent or ammonia.
Laying times: How long does it take to complete the job?
These brief indications make it clear that laying a porcelain stoneware floor takes a few days of work. Obviously, the larger the surface to be tiled, the longer it will take to complete the installation, but even in the case of floors that are not too large, it is not possible to complete the work within a few hours: in fact, it is necessary to take into account the technical times of drying the glue and consolidating the putty, which, as we have seen, take a few days.
A lot also depends on the state of the background. If it was necessary to create a new screed, it must be remembered that cement takes a few weeks to "mature", and that these times cannot in any way be bypassed: the subfloor, in fact, settles for some time, and therefore moves. If the tiles are glued before the screed has stopped moving, the screed can only crack, and the crack will lead to the cracking of the tiles placed on it.
For this reason, it should be remembered that tiling can only be started after waiting no less than a week for each centimetre of screed laid: this means that, if the screed is 5 cm thick, it will not be possible to proceed with the laying of the tiles before 5 weeks, and that any larger screeds will take even longer. Even particularly low outdoor temperatures can lengthen the maturation times of the screed and, in general, it is good to remember that a longer initial wait will reduce the risks of damage in the long term.
Also for this reason, it is preferable, instead of relying on DIY, to request the advice of competent professionals, who will provide you with all the information necessary to complete a successful installation.